Data can have real value, and like everything precious, it must occasionally be secured to prevent others from viewing or stealing it. If you have sensitive documents or secret projects stored on your Mac, you may wish to restrict access to them.
This is especially true if you share your Mac with others, but Macs are also susceptible to external privacy breaches. Thankfully, it’s simple to password-protect files and folders on a Mac using either native or third-party applications. And because you will also encrypt the data, it will be unintelligible to anyone who does not know your password.
How to password protect folders on your Mac
There are multiple advantages to safeguarding Mac folders rather than individual files with a password. In addition to allowing you to lock multiple files or folders simultaneously, you may add and delete files from your password-protected folder with ease.
Password Protecting Mac Files with Built-In Tools
Using the macOS Disk Utility, it is simple to create a password-protected folder. It just generates an AES-encrypted.dmg archive file that can only be opened with a password.
Here’s how To Password Protect Folders with Disk Utility:
1. Open Disk Utility from Applications > Utilities > Disk Utility
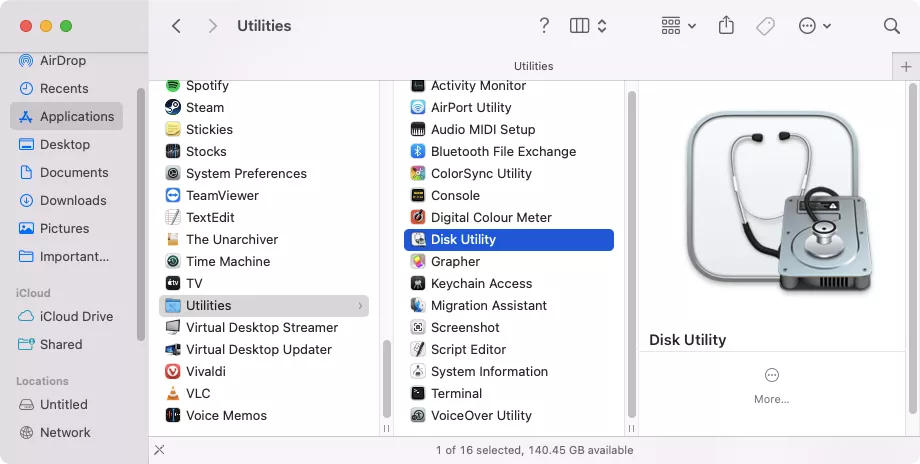
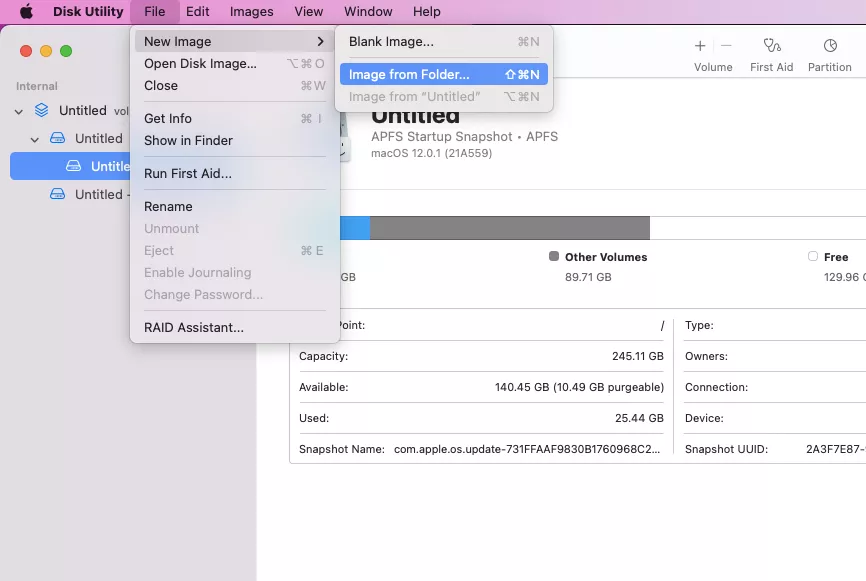
2. From the menu bar, select File > New Image > Image from Folder
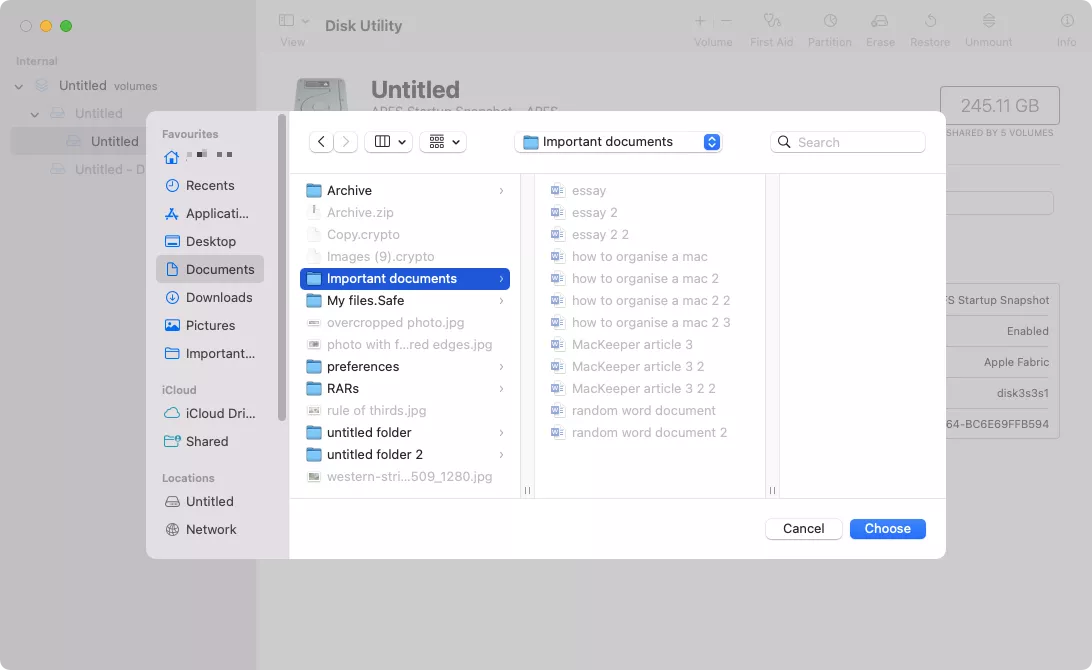
3. Now select the folder you want to password protect, and click Choose
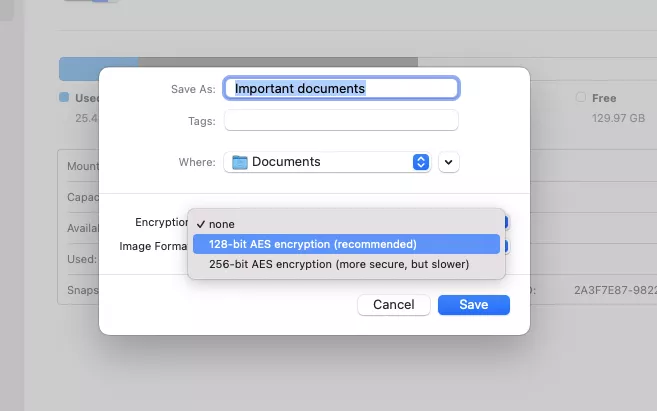
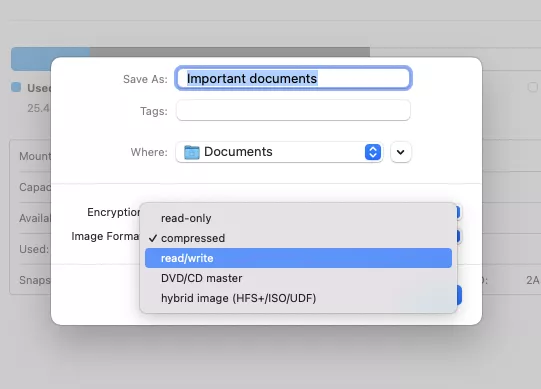
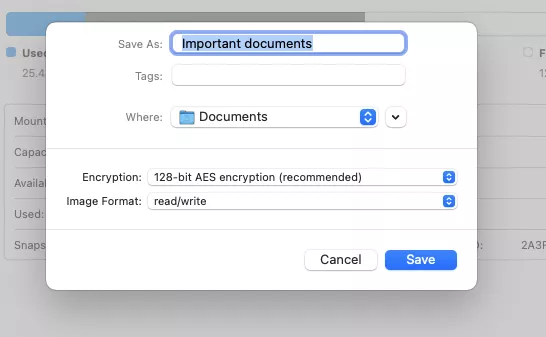
4. If you want to, choose a name or location for your protected folder. Open the Encryption, dropdown menu, and make a choice (128-bit AES encryption should be enough), and click Save
5. Enter a password, and click Choose when you’re done
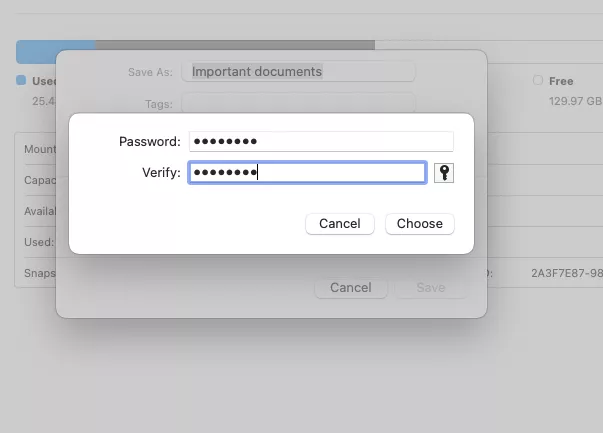
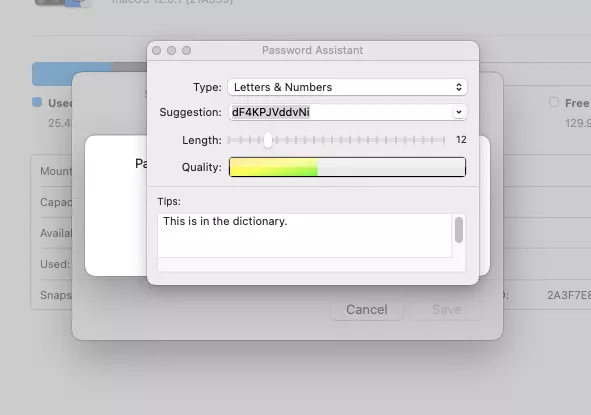
6. Alternatively, click the key icon, and let macOS create a strong password for you. Again, click Choose when you’re finished
7. Expand Image Format and choose read/write. This will let you add and remove content from your protected folder later
8. Finally, click Save
9. Wait for Disk Utility to finish encrypting your folder
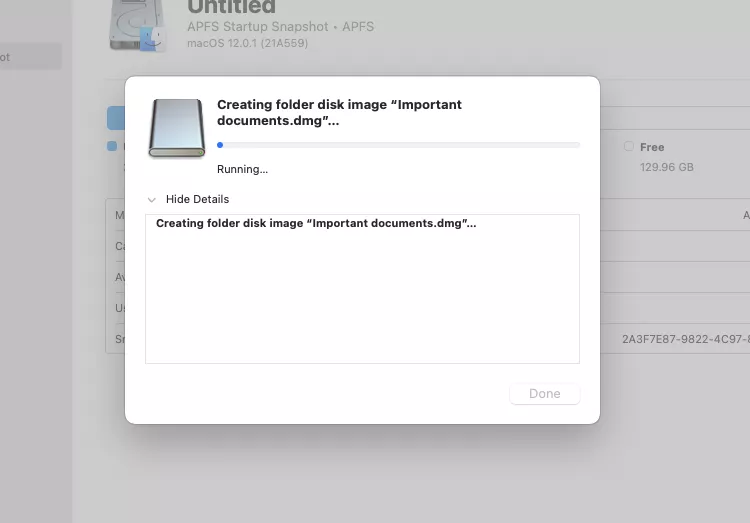
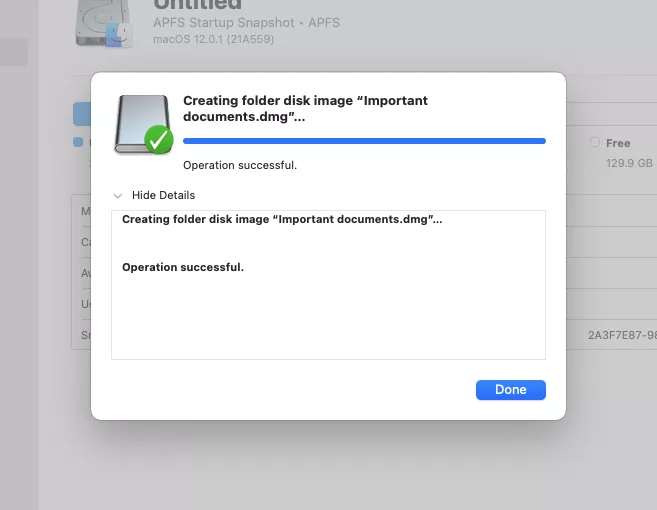
10. When it’s done, you’ll be left with a password-protected disk image and the original folder. If you don’t need the old folder, you can delete it
Also Read: How to Factory Reset in Windows 10?
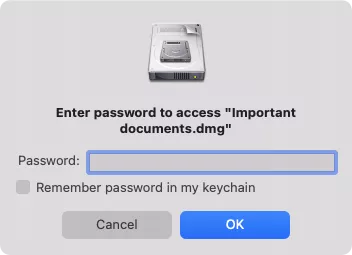
11. To open the locked folder on your Mac, simply double-click the .dmg file to open it, then enter your password when requested. With the correct password, the disk image will mount, and you’ll be able to access the contents, including adding or removing files and folders
Password protecting Mac files with third-party tools
To password-protect folders on your Mac, you may want to explore a third-party application if you desire additional capabilities. Additionally, anyone may locate and even delete your password-protected folders using the Disk Utility approach. These constraints may be circumvented through the use of third-party applications.
Also Read: Manga4life: Everything You Need To Know About It!
How to password protect individual files on Mac
Generally speaking, it is simpler to encrypt and lock Mac folders than to password-protect individual files. However, if you only wish to protect one or two files, it may make sense to proceed in this manner.
Password Protecting Files Using Built-In MAC Tools
macOS lacks this capability, although you can lock individual files using native applications such as Notes, Pages, and Numbers.
Simply follow these steps:
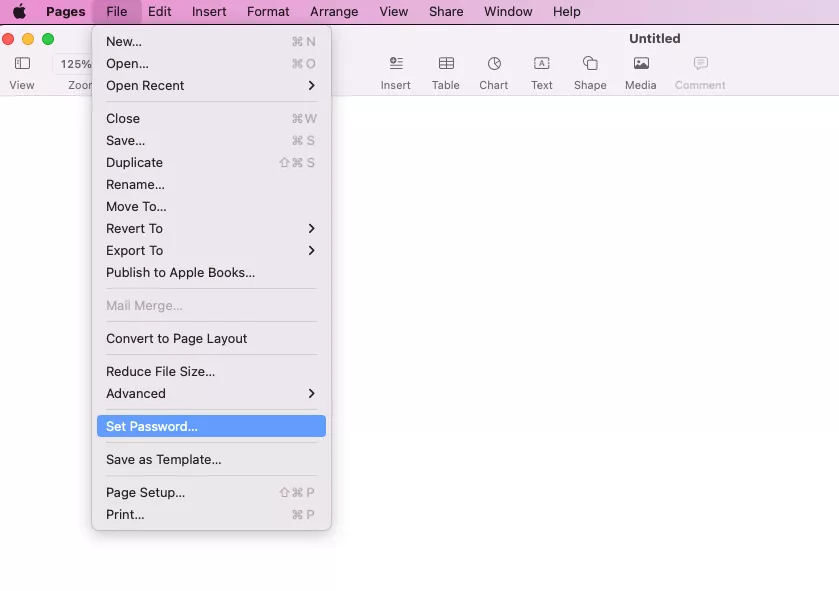
- In Pages, Numbers and Keynote, choose Files > Set Password from the menu bar. Enter a password, and click Set Password
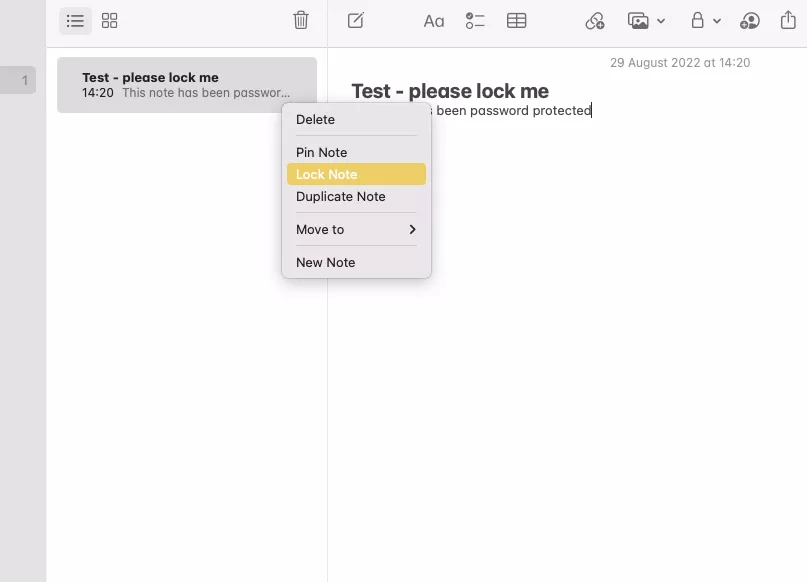
- In Notes, right-click on a note, then select Lock Note. Enter a password, and select Set Password
Password Protecting Files with Third-Party Tools
Similar to native apps, often the best way to password protect individual files is to use the apps they were created in.
For example, you can password protect files in:
- Microsoft Office
- Open Office
- LibreOffice
You can also encrypt and password protect files in Encrypto, but it just creates a locked version, leaving the old, unlocked version behind.
Also Read: How to Fix SMS Fails to Send in Android?
Conclusion
It’s helpful to be able to password-protect individual files in applications like Office, but it’s typically simpler and more convenient to lock entire folders on a Mac. Thus, you can add and remove files from your secured archive at any time, and you only need to remember a single password for each folder’s contents.
If you do not want any additional functionality, Disk Utility will enough for the majority of your needs. Third-party encryption solutions, such as Encrypto and VeraCrypt, are worth investigating, especially because they are free.
Use secure passwords to safeguard your sensitive information. After all, safeguarding your Mac files and folders with a weak password defeats the purpose.
MacKeeper can also increase your privacy protection. Its integrated VPN client encrypts online traffic and conceals your location. It also has an ID Theft Guard feature that notifies you if your website login information is stolen or posted online by hackers. In addition, it provides a multitude of useful functions to maintain your Mac in pristine condition.


