This guide will demonstrate how to install Kali Linux alongside Windows 10 or 11 on a desktop or laptop computer. So, you have a Windows 10 or 11-based laptop or desktop computer and are considering installing Kali Linux. However, you are concerned about your current Windows 10 operating system and your personal data. There is a high risk of data loss during Linux installation, and a single error can result in the destruction of your data in a matter of seconds.
So, how do you install Kali Linux via USB in a dual-boot Windows 10 environment? Get a separate hard drive or solid-state device for Kali Linux installation. Yes, SSD is becoming more affordable, and you do not have to sacrifice or reduce the existing hard drive on which Windows 10 and your personal data are kept.
In this article, I’ll demonstrate how to create a bootable USB to install Kali Linux from USB to a PC or laptop, how to install a new SSD for the installation, and a step-by-step guide to installing Kali Linux. Also how to install it on Windows 10, i.e., dual booting Windows 10 and Kali Linux. Let’s begin the comprehensive tutorial.
Kali Linux Download and how to make Bootable USB
To install Kali Linux from USB, you must first create a bootable USB using a flash drive with at least 8GB of free space. To create a bootable Pendrive, you need need an accessible Windows 10 or Mac computer and the image flashing software Balena etcher. It is a decent picture flashing application that is simple to use on Windows and macOS.
Step 1: Download the Kali Linux Image file (Installer) from the official website.

Step 2: Choose the Installer Version & download the ISO via torrent. (You will need μTorrent)
How to write Kali Linux Image File to USB Drive
Step 3: Once you have downloaded the ISO file and etcher, open etcher.
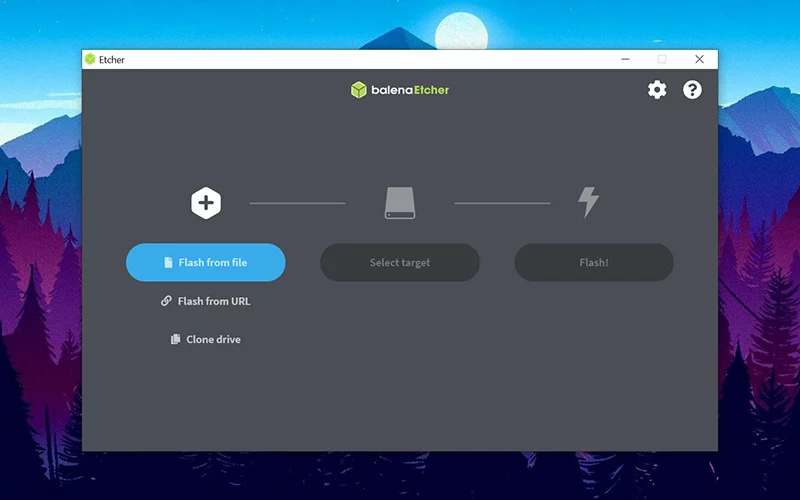
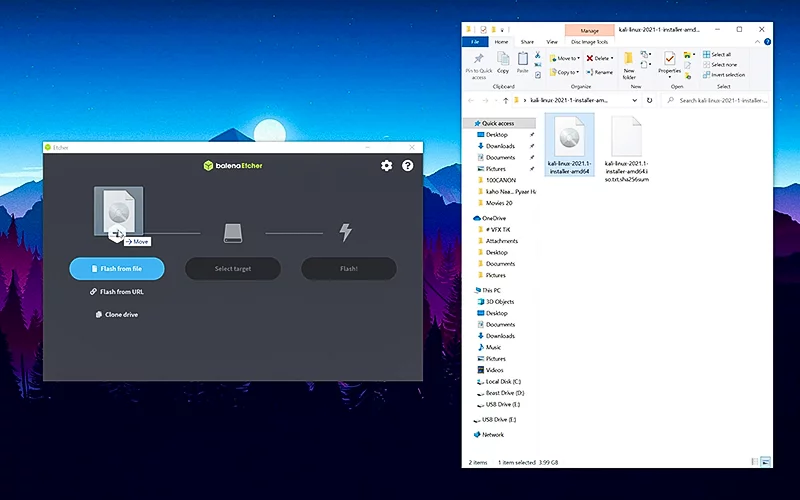
Step 4: Drag and drop the Kali Linux image file on + Icon.
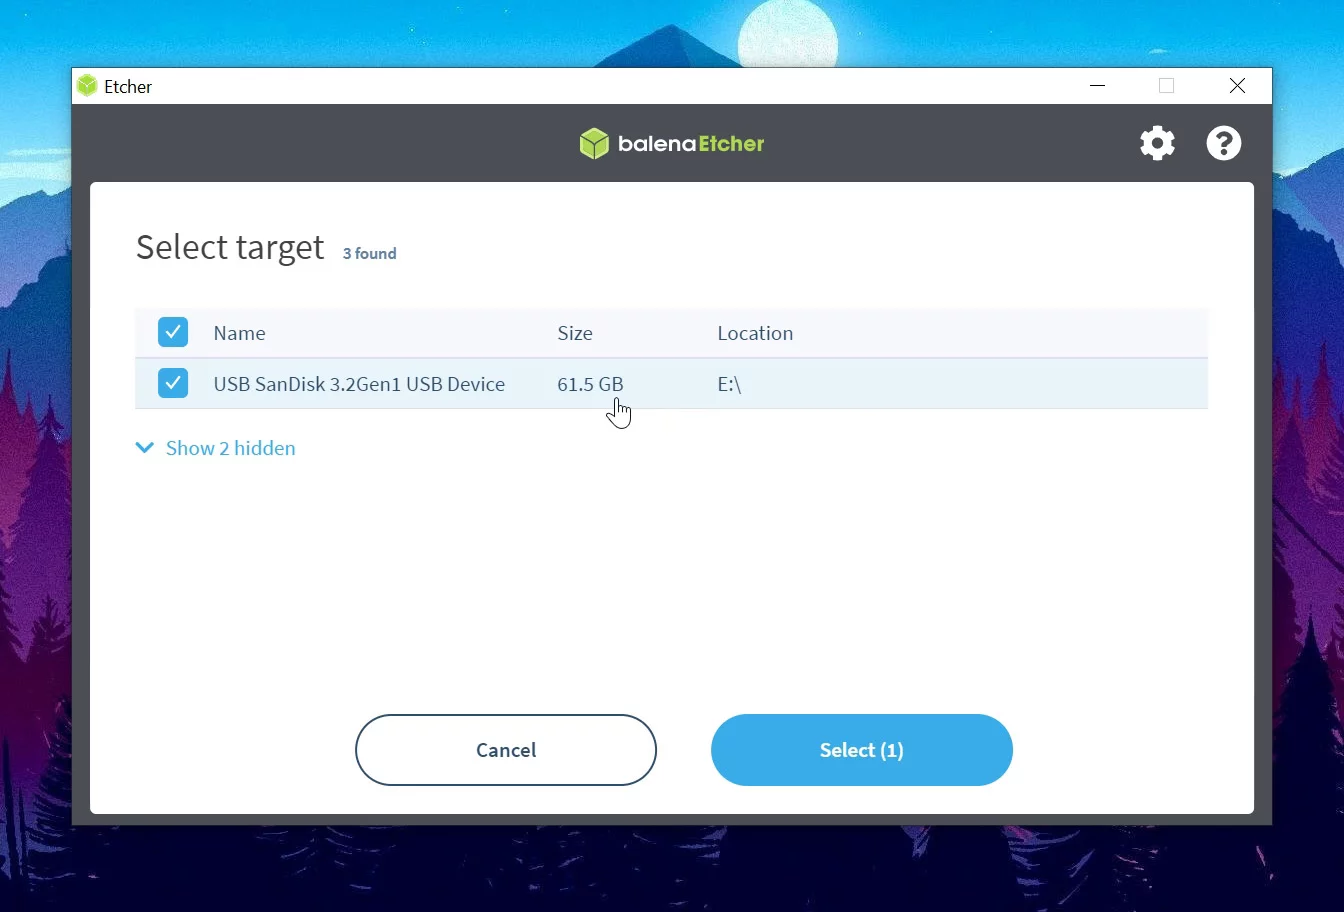
Step 5: Now select the Pendrive in the select target button. (Make sure the USB is plugged)
Step 6: Now click on the flash to write the Kali Linux image to the USB drive.
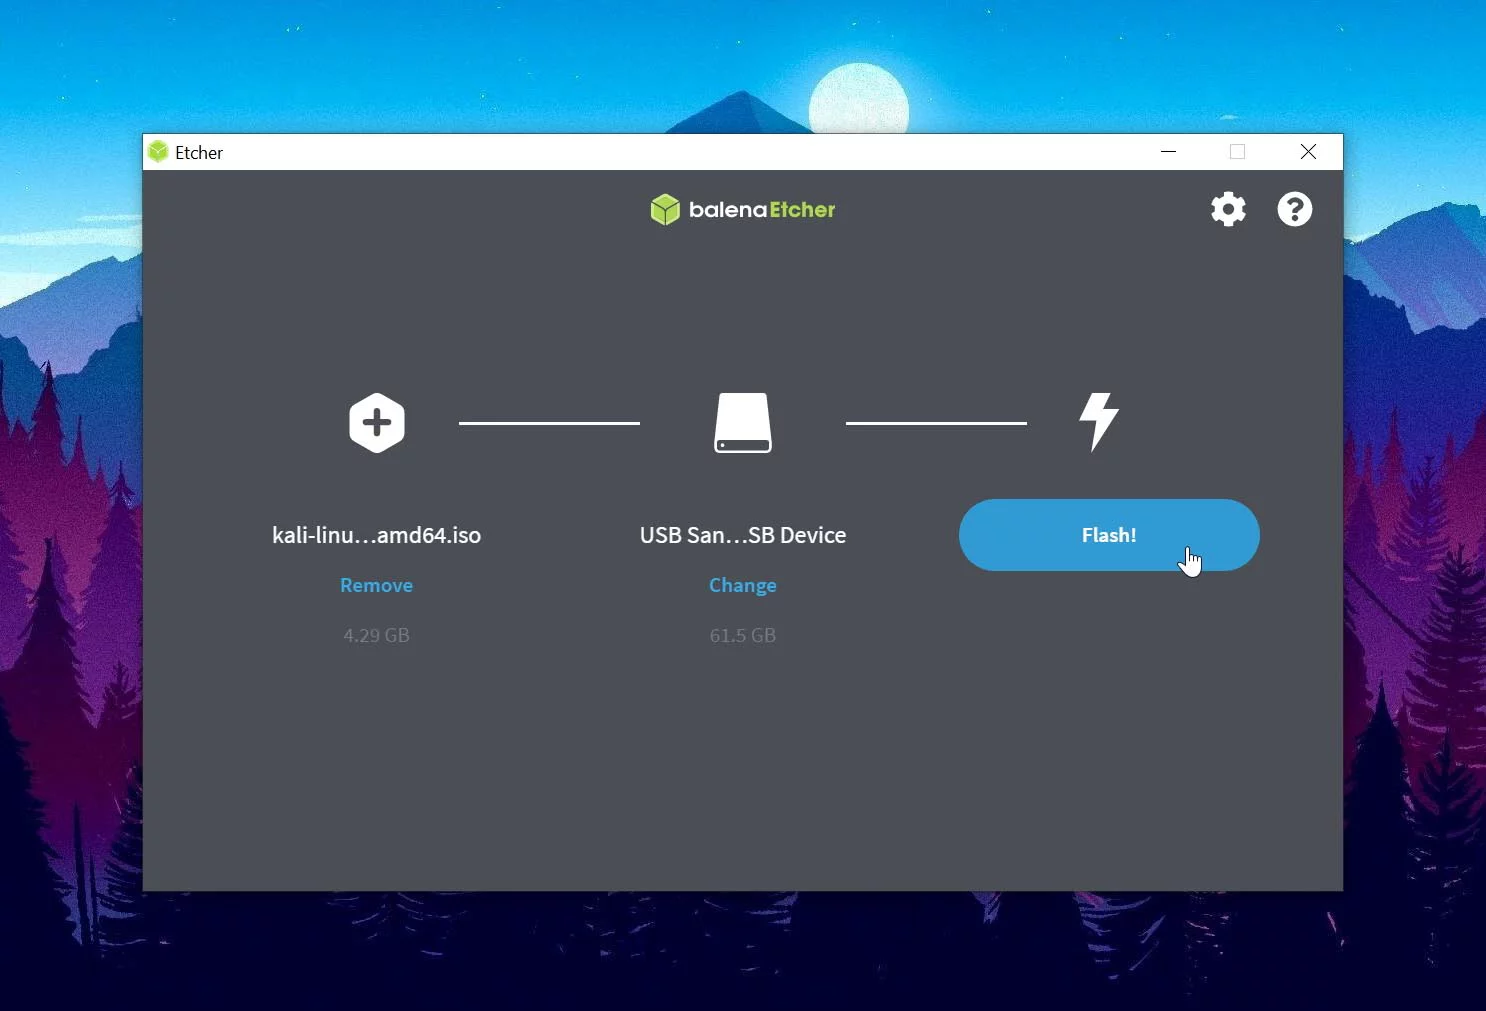
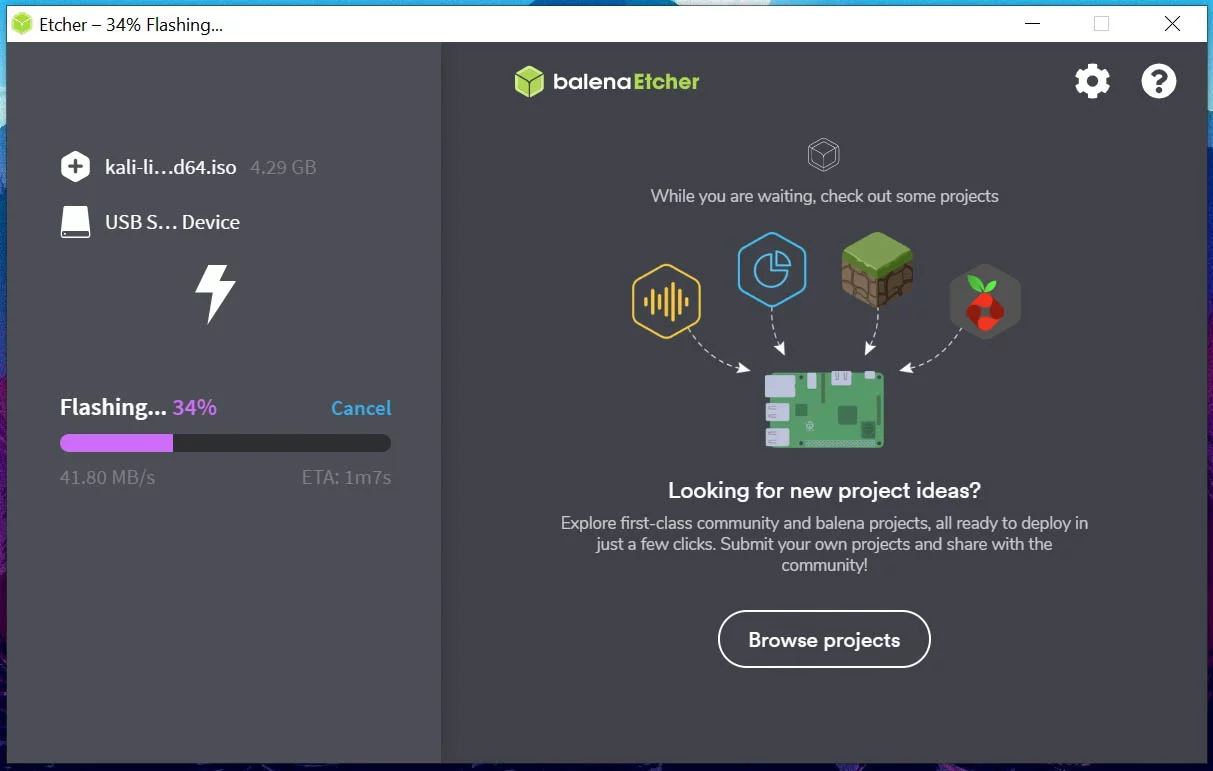

Step 7: This will take few minutes and Kali Linux Bootable USB will Create Successfully!
Also Read:How to Change Keyboard Layout in Windows 10?
Get Ready Laptop or PC for the Kali Linux Installation
Typically, a laptop contains a single hard drive on which the Windows 10 operating system, applications, and data are stored. There are two hard drive spaces in some laptops, so we put the operating system on the primary drive and store data on the secondary drive.
If your laptop only has one drive bay, you can install a second hard drive by replacing the DVD-ROM with a second HDD Caddy. Dual-booting Kali Linux requires a second HDD caddy. To install the operating system on a different drive.
What you must do is open your laptop and remove the Windows 10 hard drive (if you have any other data drive in the laptop, take it as well). Now that your laptop has no drive, there is no possibility of data loss. Next, get a separate SSD for the installation of Kali Linux, any inexpensive SSD such as the Kingston 120GB SSD, insert the new SSD into the second HDD caddy, and remove the existing DVD ROM, which is plainly not in use.\
How to Install Kali Linux on Laptop from USB Drive
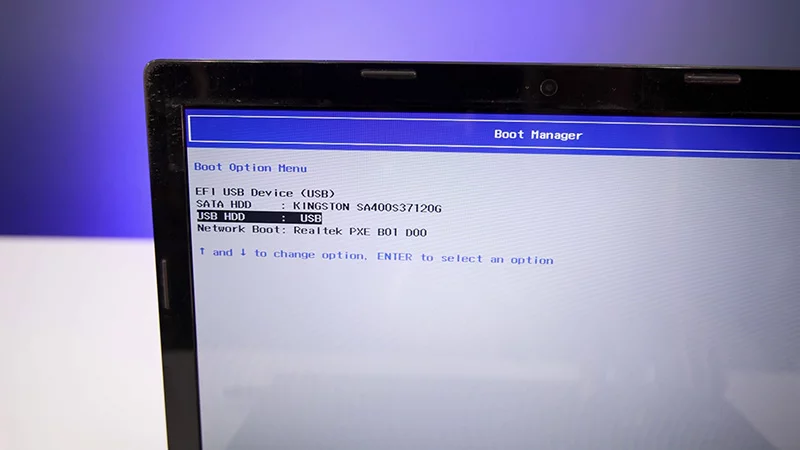
Step 1: Plug Bootable USB, then turn on the PC and quickly press the boot menu key.
Step 2: In the boot menu select the bootable USB.
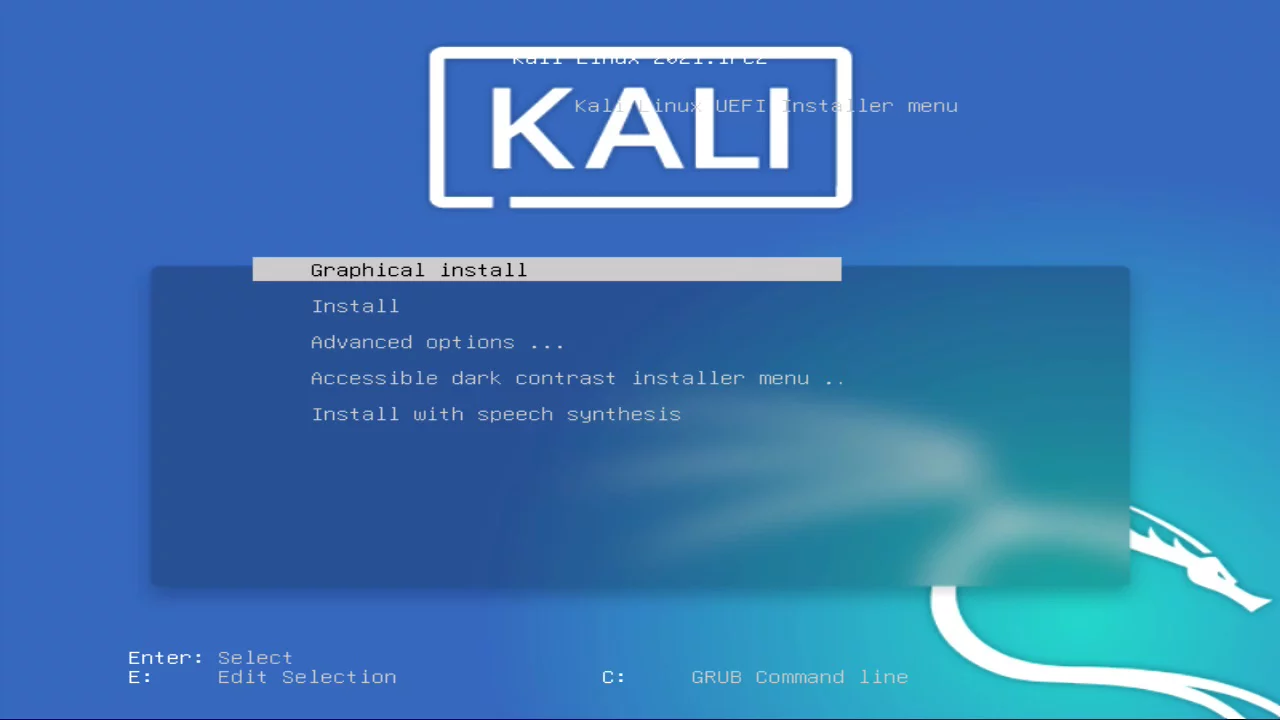
Step 3: Now USB will load the Kali Linux setup, select Graphical install.
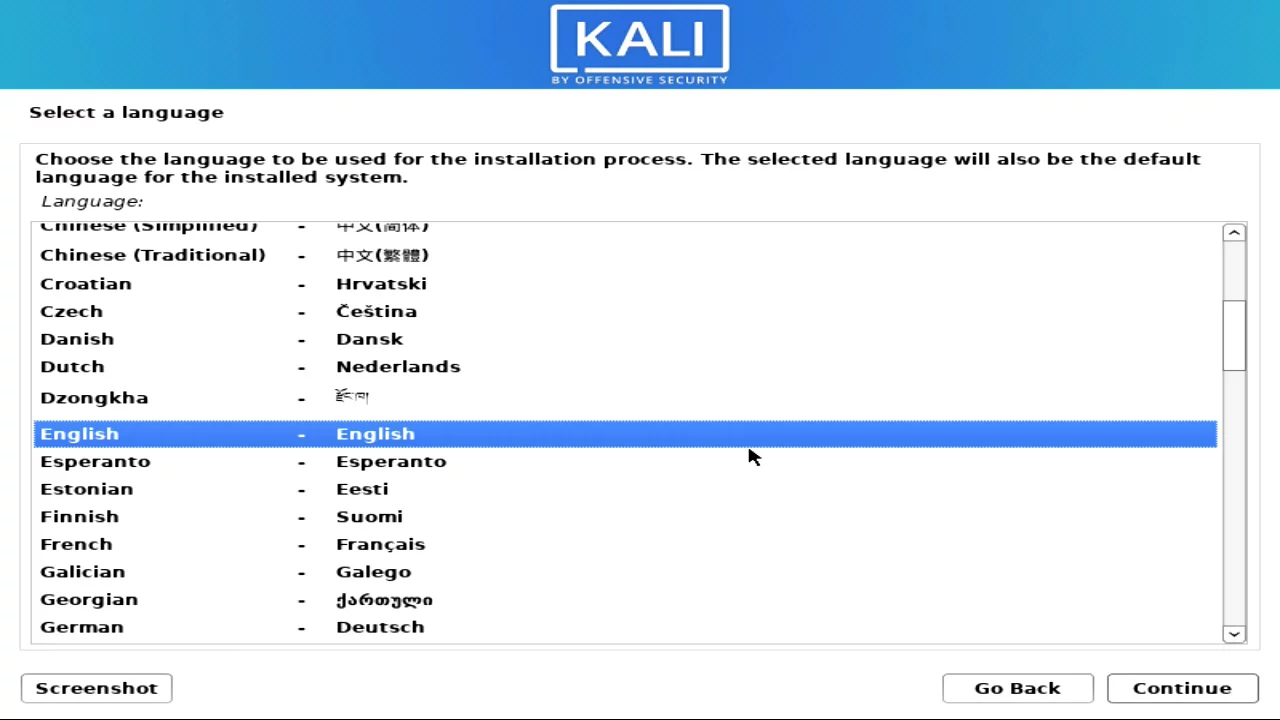
Step 4: Select Language, Keyboard Layout, and Location.
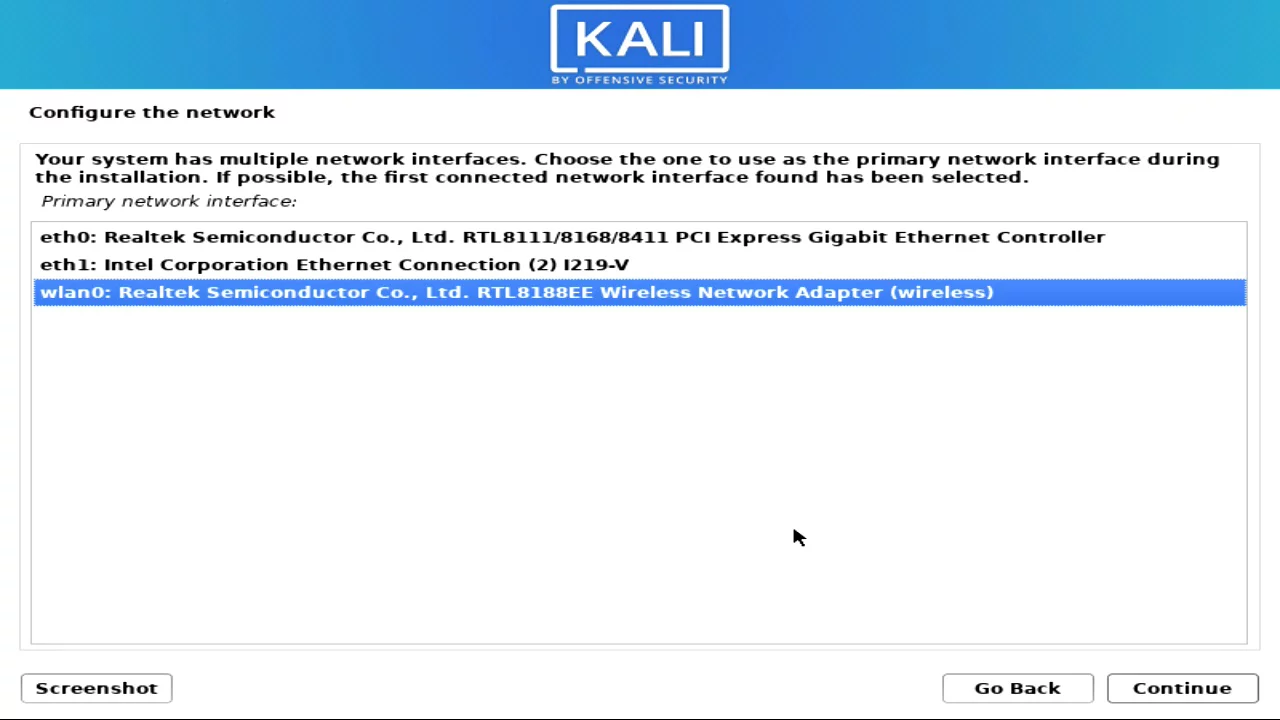
Step 5: Select the WiFi adapter and hit enter. (If you are using LAN select the Ethernet)
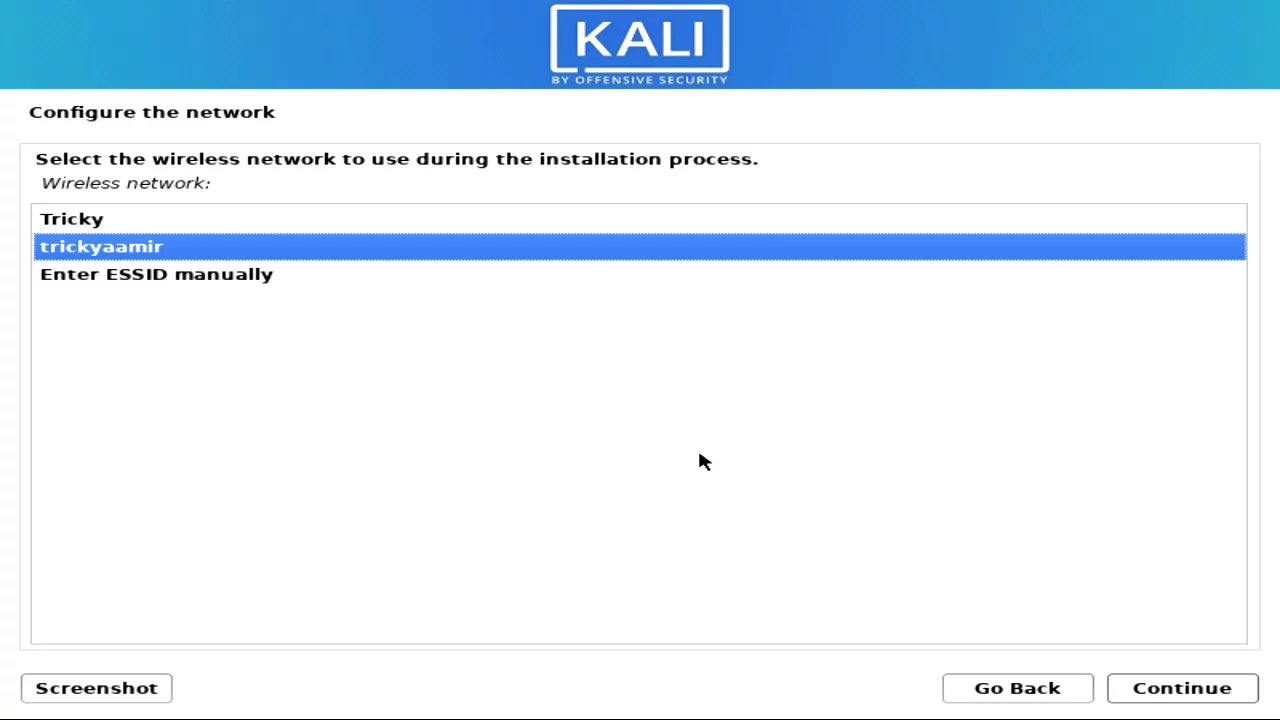
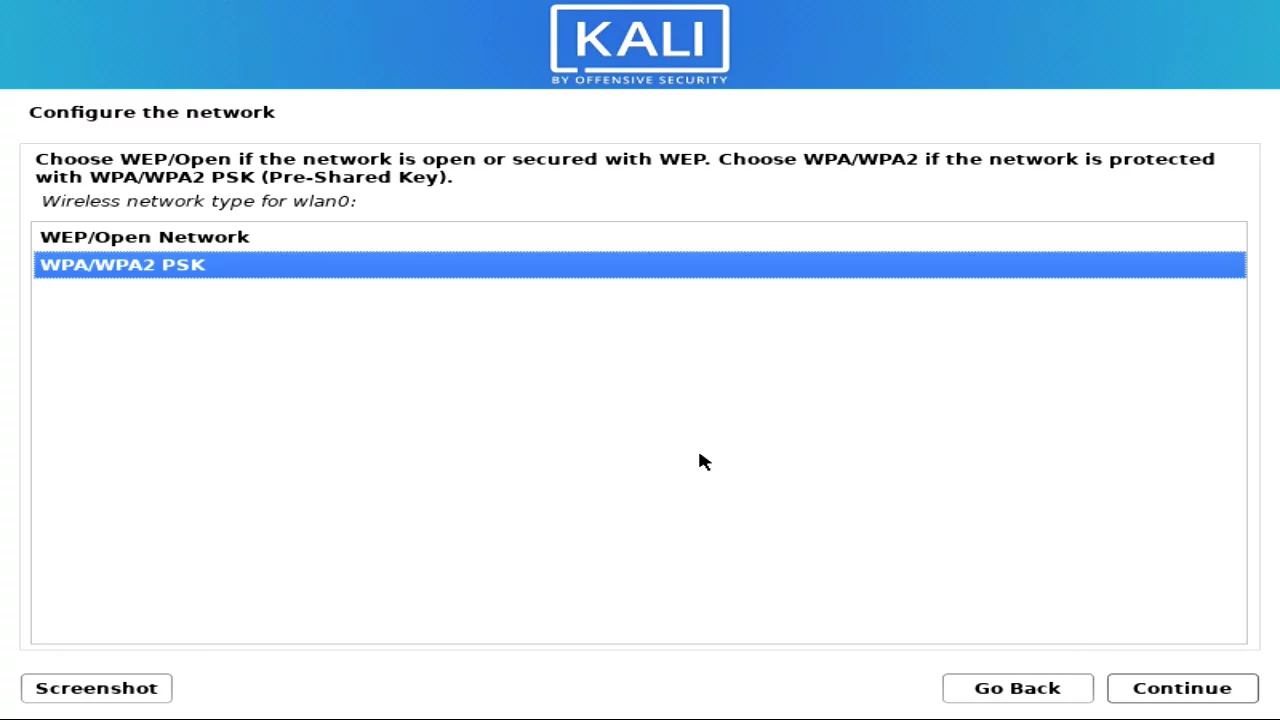
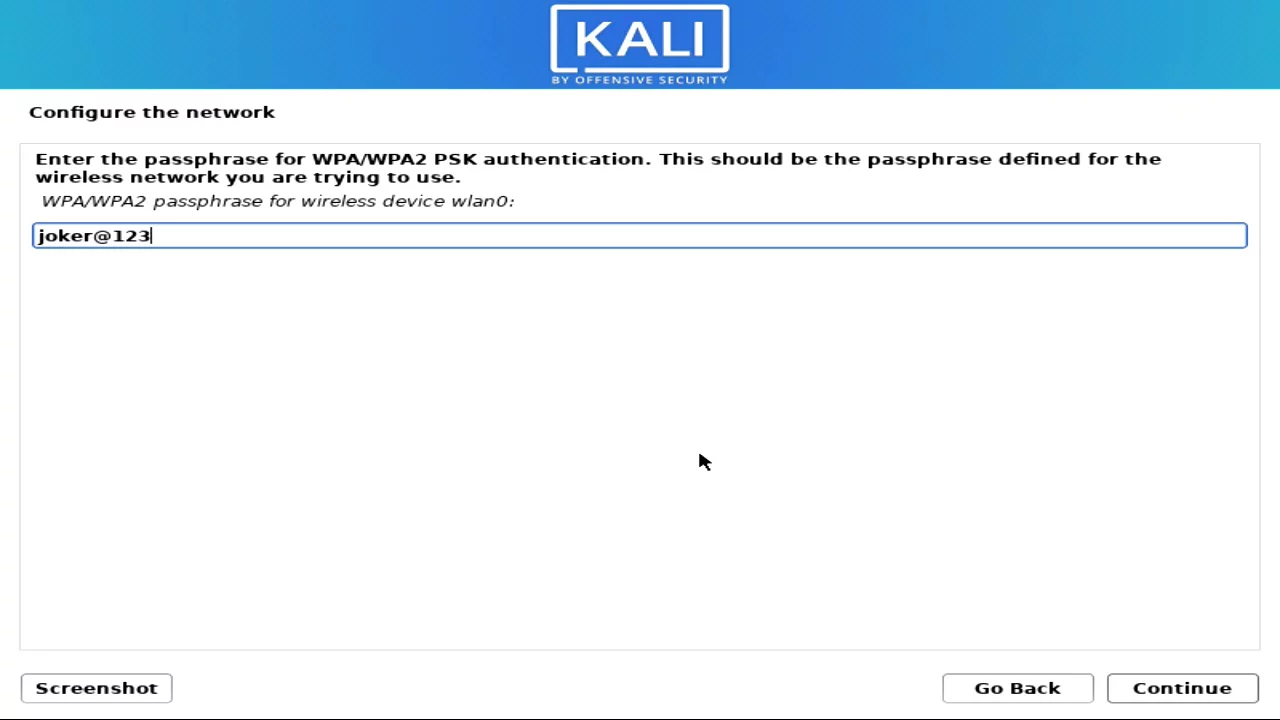
Step 6: Select home WiFi and enter and enter the WiFi password.
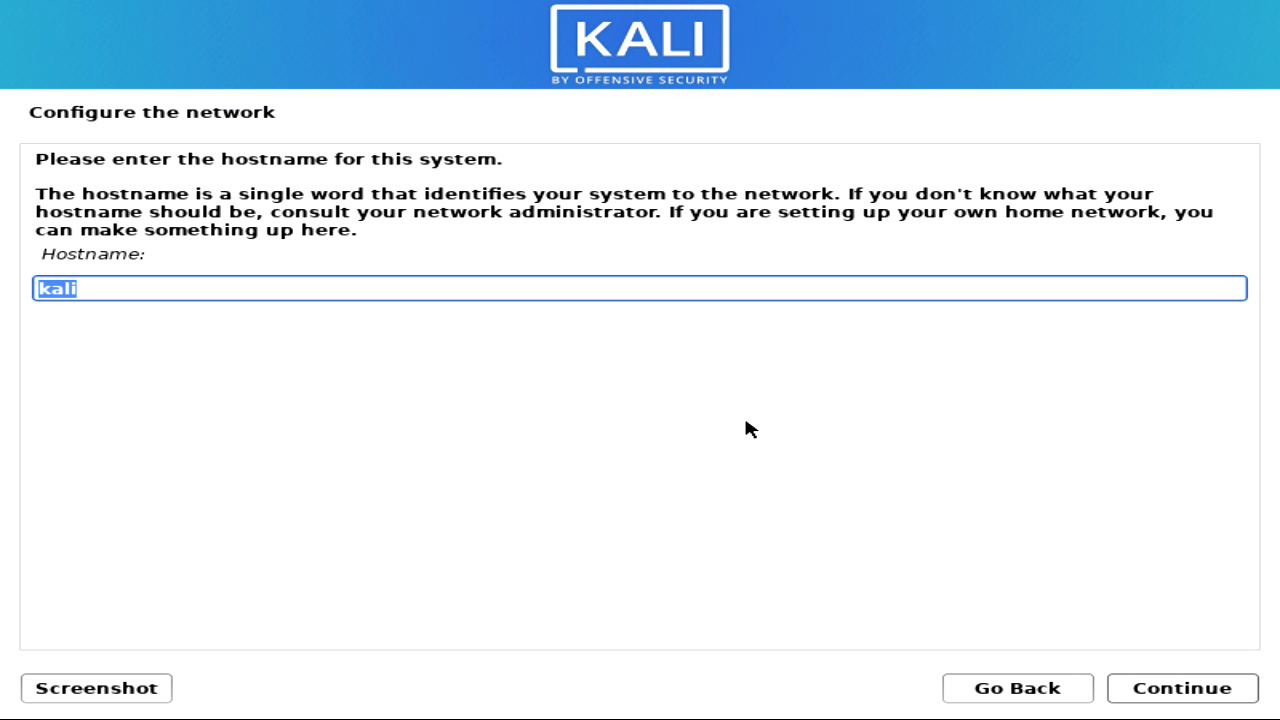
Step 7: Now enter a hostname like “kalihost” or leave it to default “kali” and hit enter.
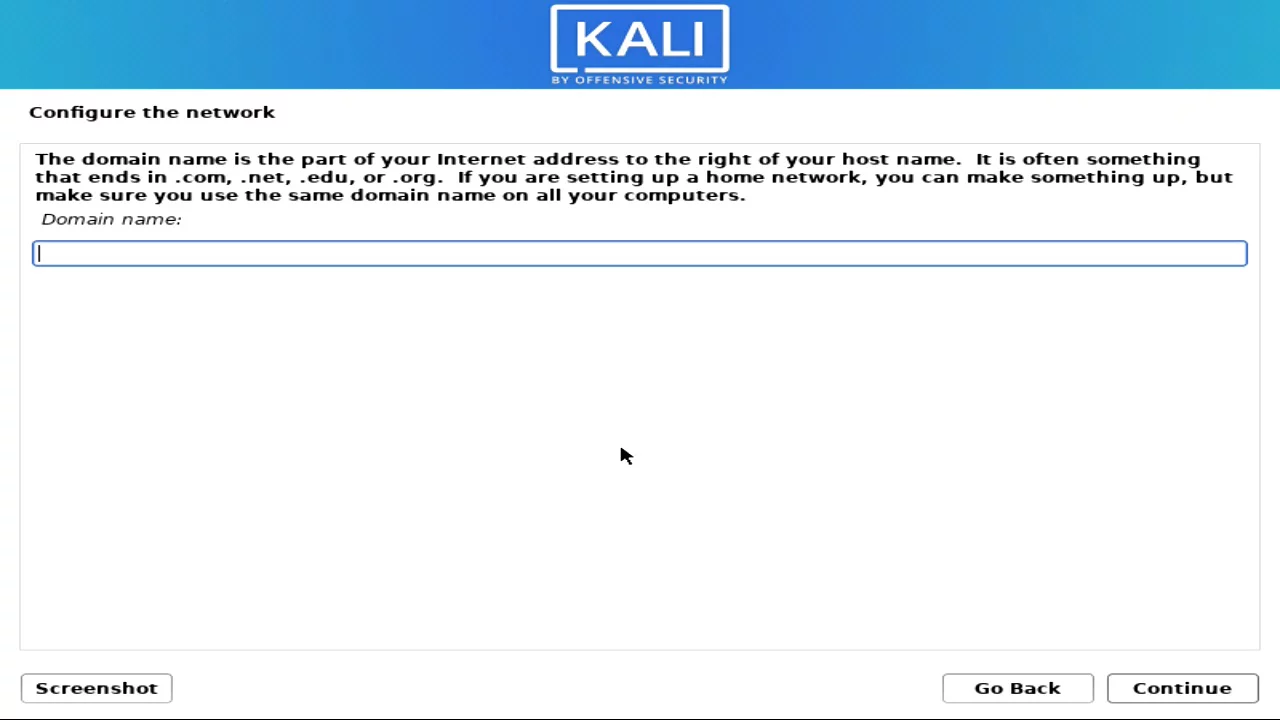
Step 8: Enter a domain name like “localhost” or leave it blank and hit enter.
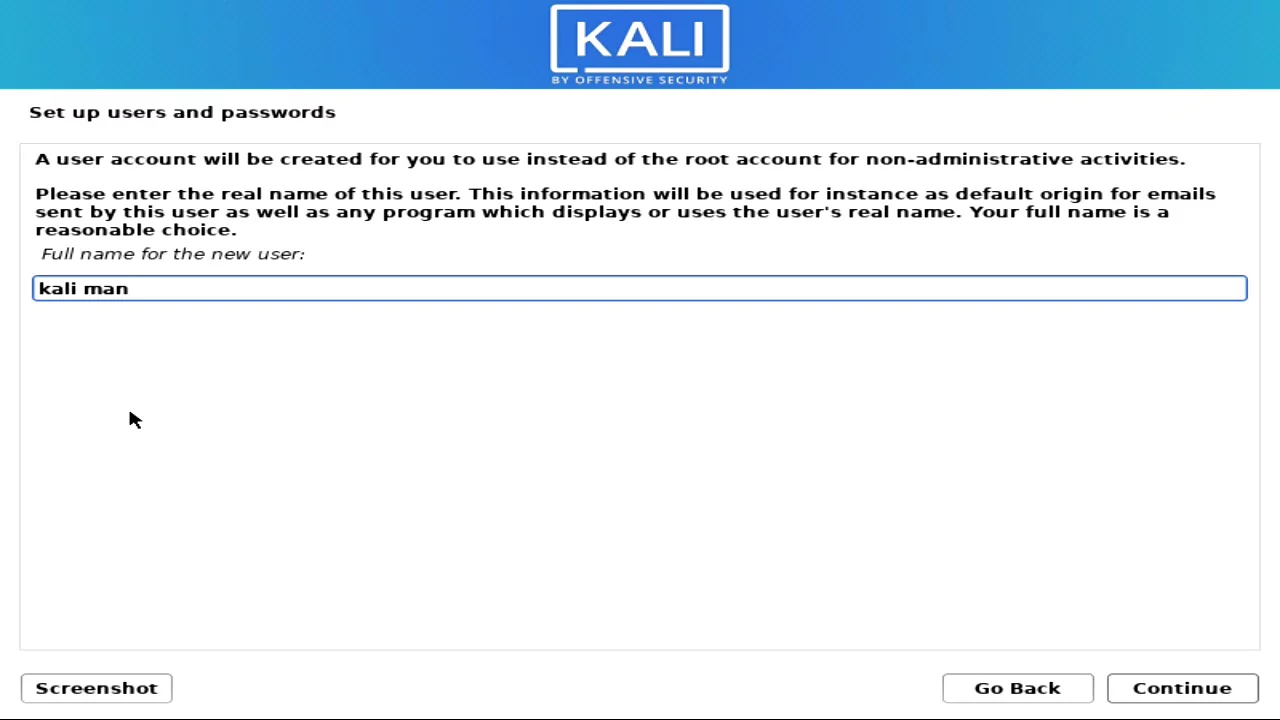
Step 9: Here enter the full name for the user, e.g. kali man.
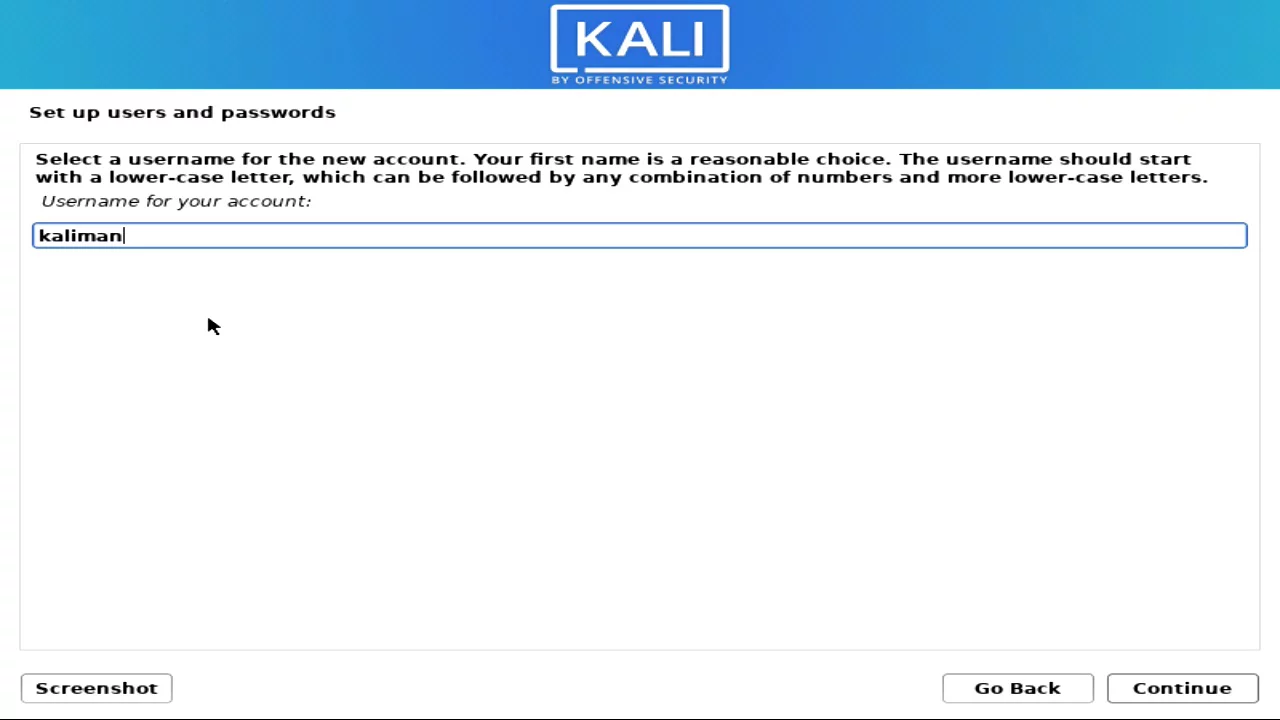
Step 10: Create a username in small letters without any space and continue.
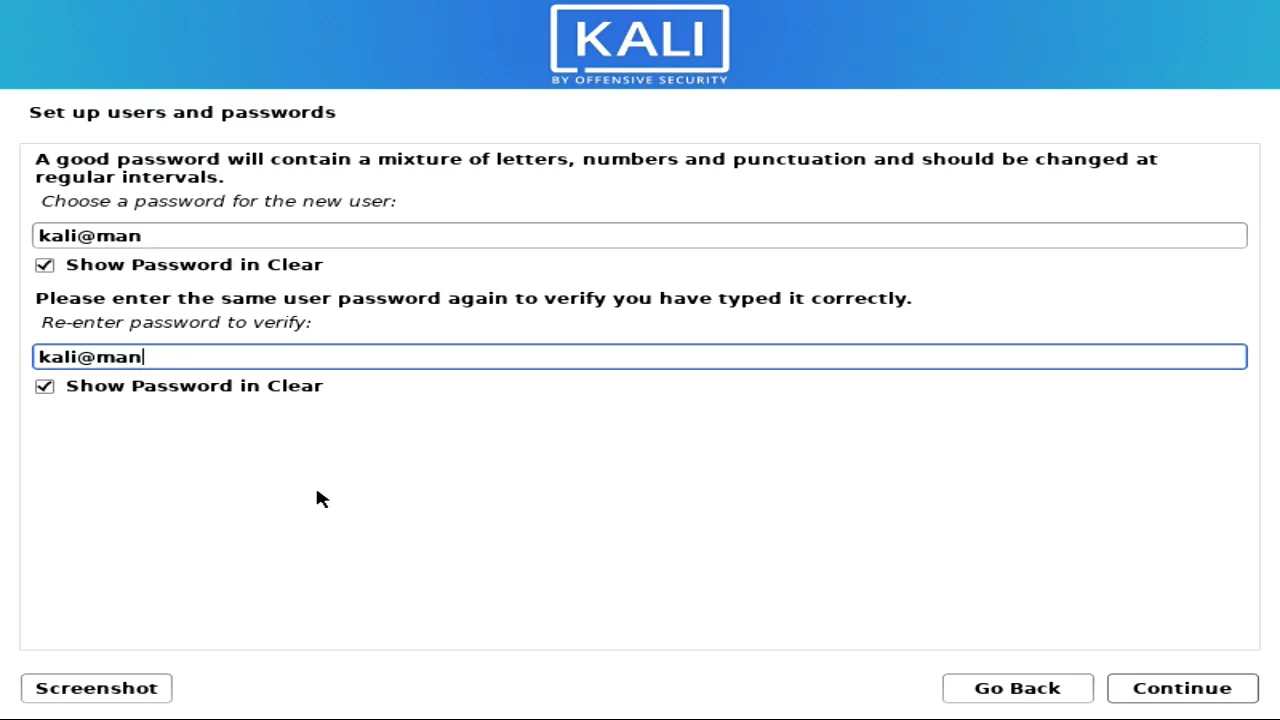
Step 11: Create a password for the user and continue. (Note: it will ask in login)
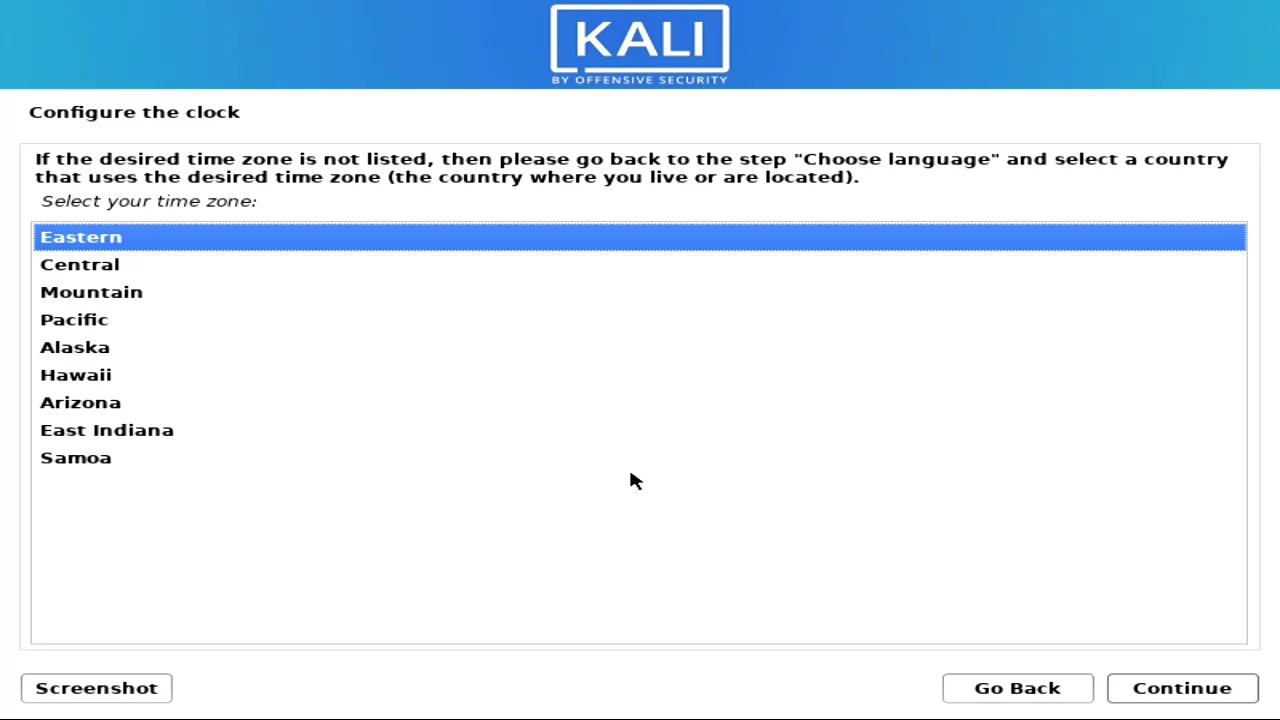
Step 12: Select the time zone clock.
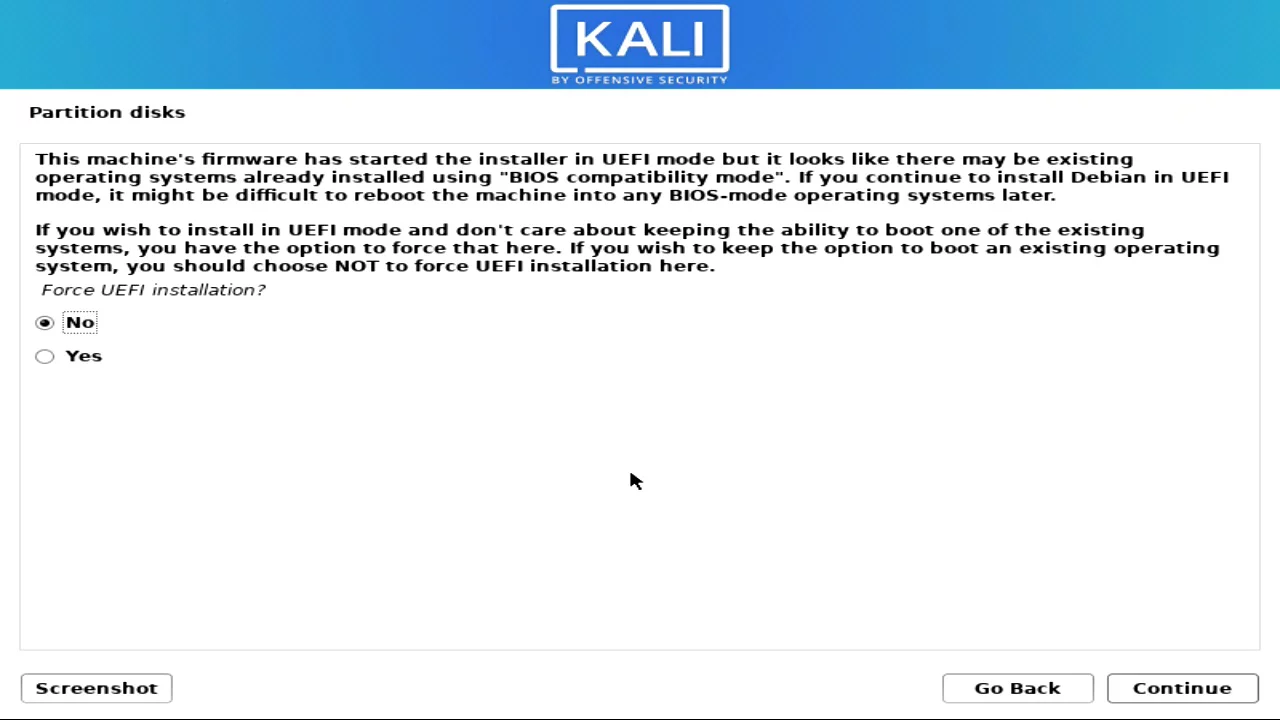
Step 13: In the force UEFI installation page, select NO.
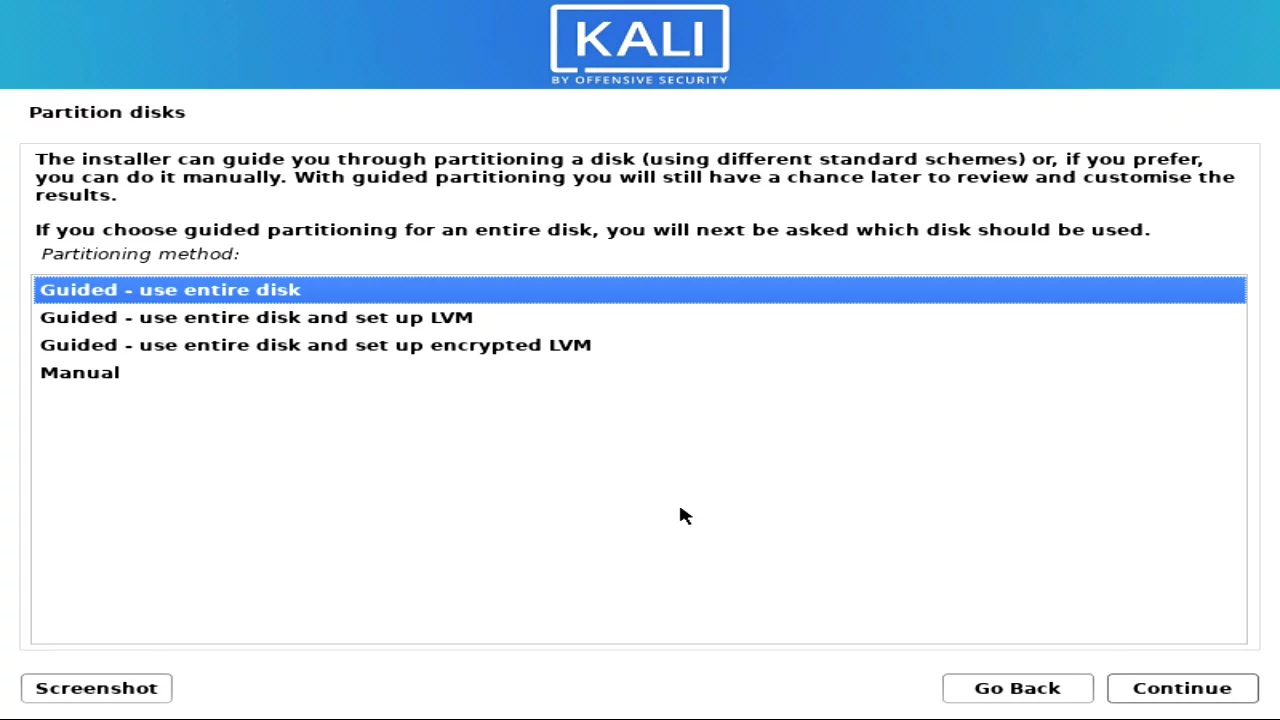
Step 14: It will ask for partition disks. As we are going to install the OS in a new SSD, Select the Guided – use the entire disk partitioning method. (We don’t have to worry about data because the SSD is empty)
Step 15: Here you will see 2 disks to select. 1st one is the SSD and the second one is the bootable USB drive. Select the SSD and hit enter.
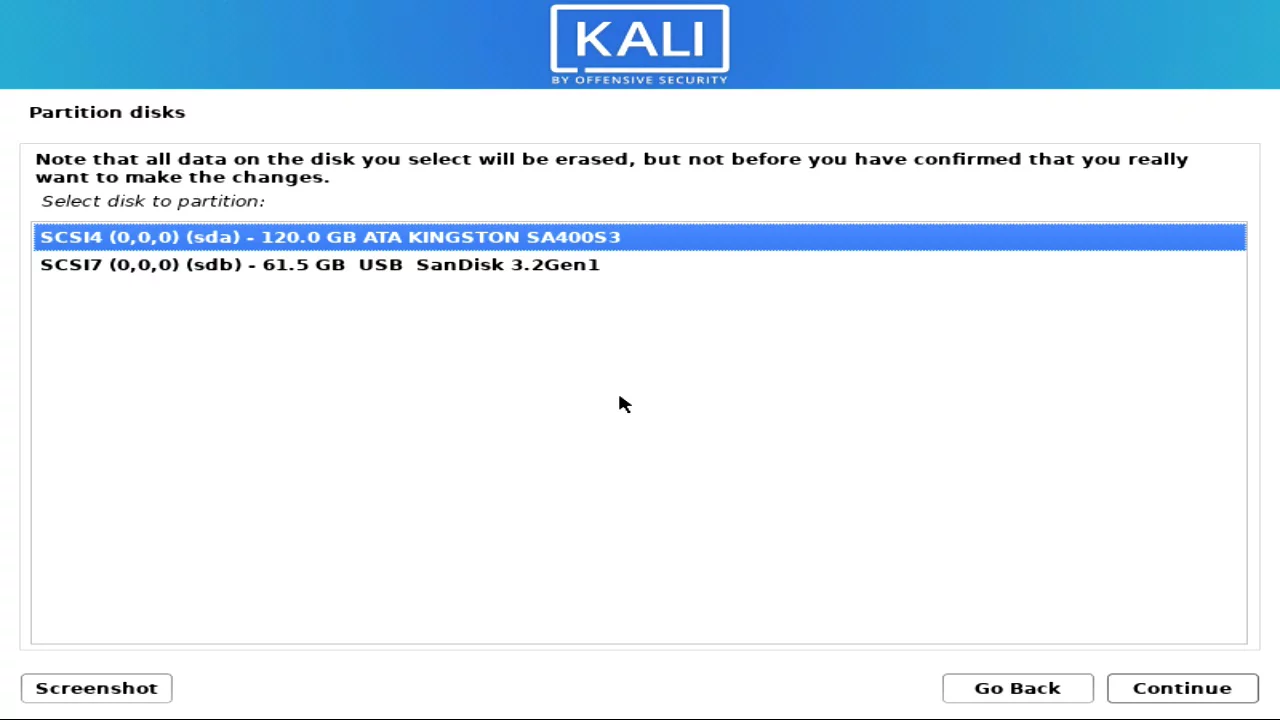
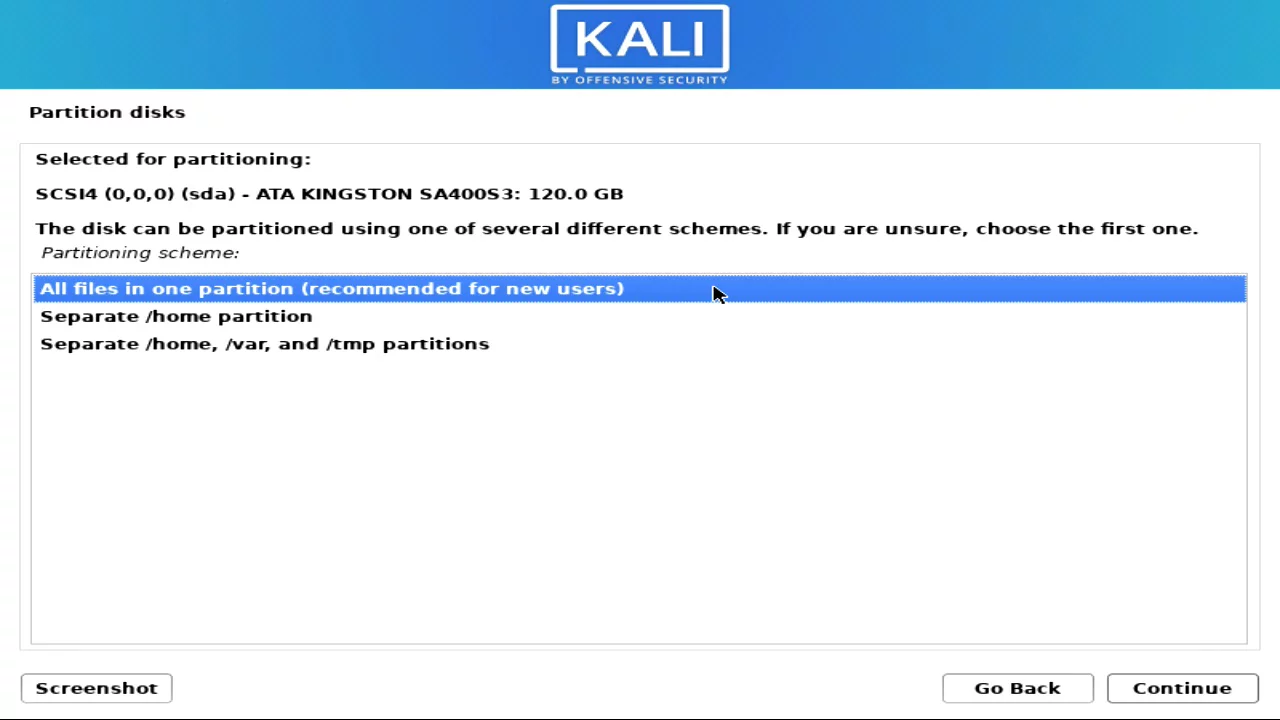
Step 16: Select All files in one partition and continue.
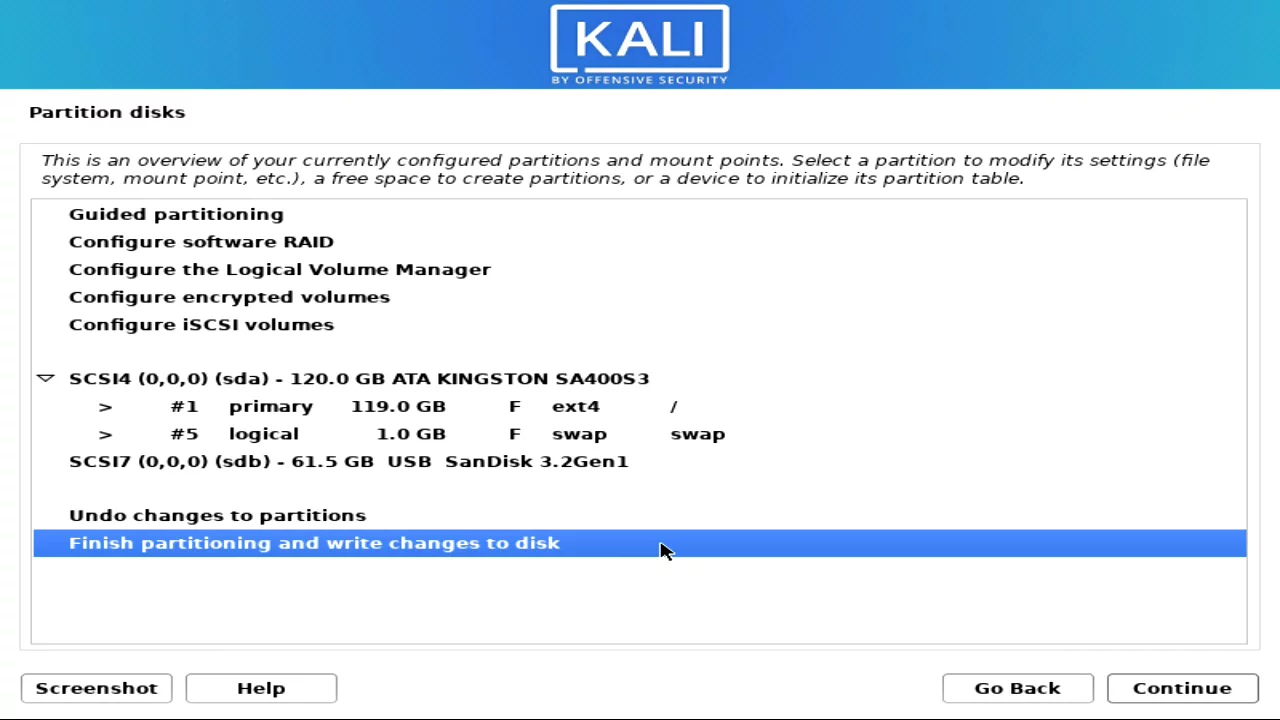
Step 17: Now kali Linux will create a Primary partition and a Swap partition automatically, Select Finish partitioning and continue.
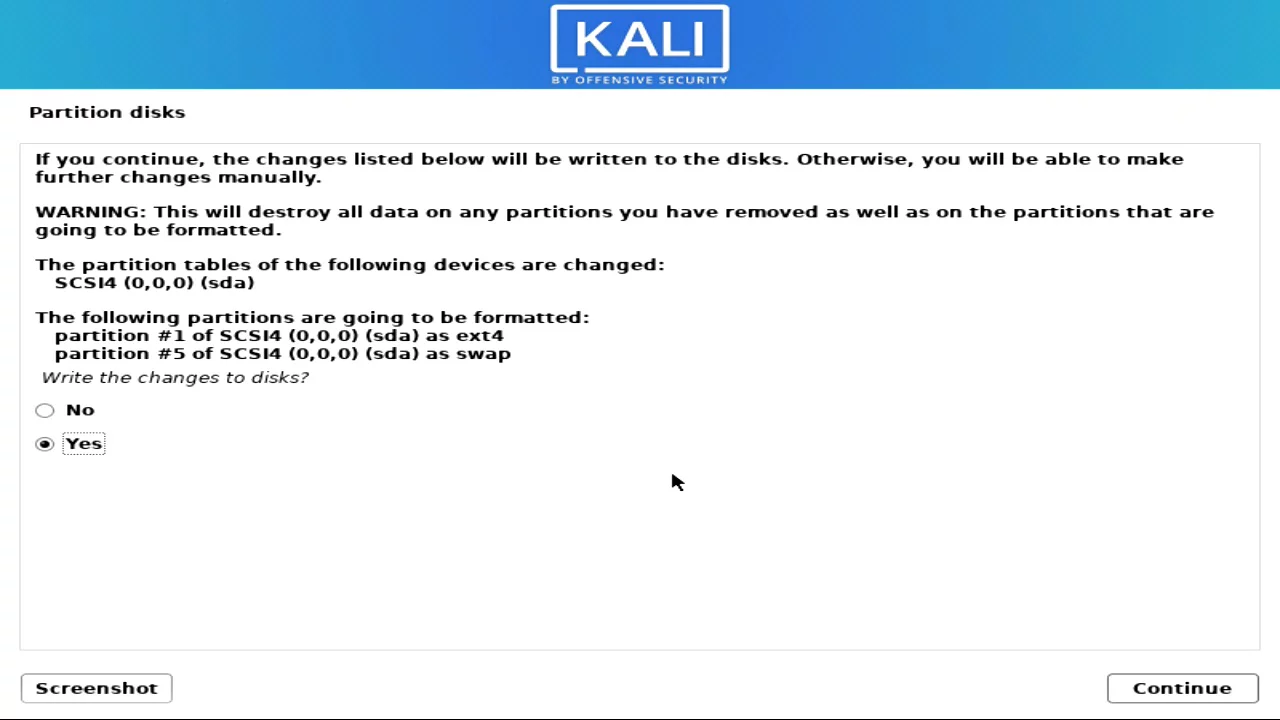
Step 18: Select yes to confirm the changes to the disk and continue.
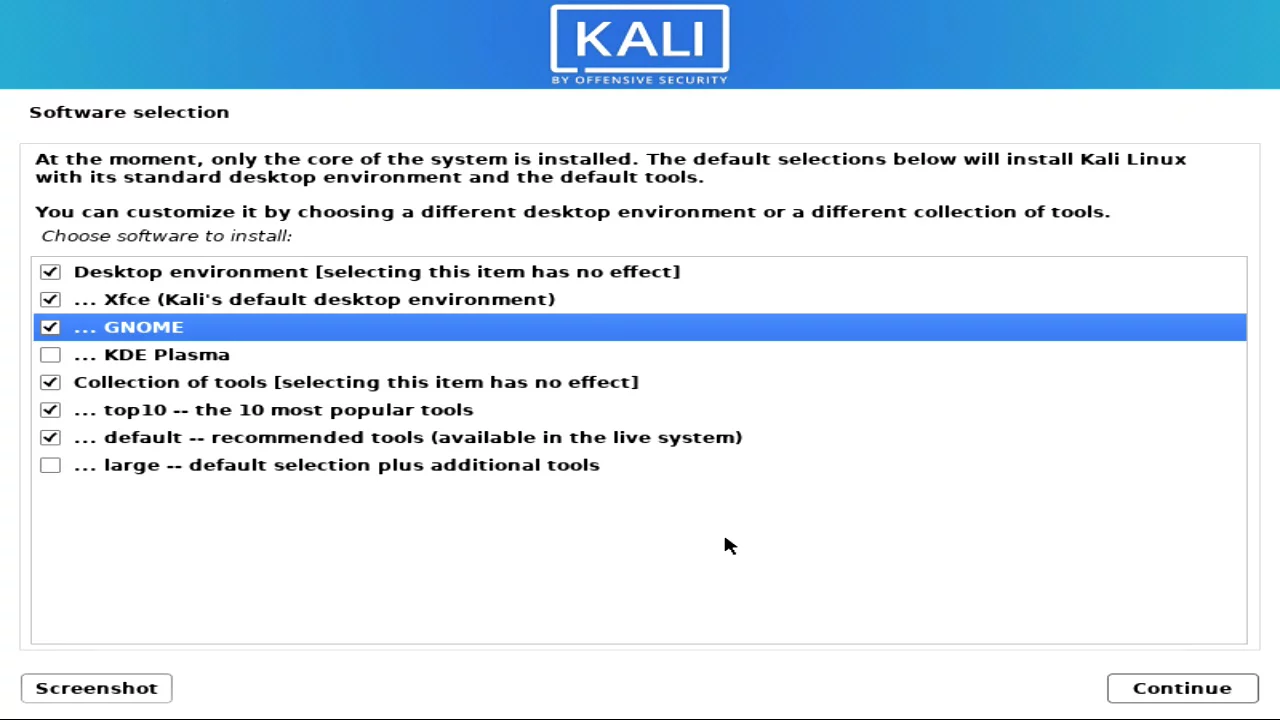
Step 19: After few seconds it will ask you to select software, keep it default or you can check Gnome mode also. (It’s a cool theme for the Kali Linux OS.)
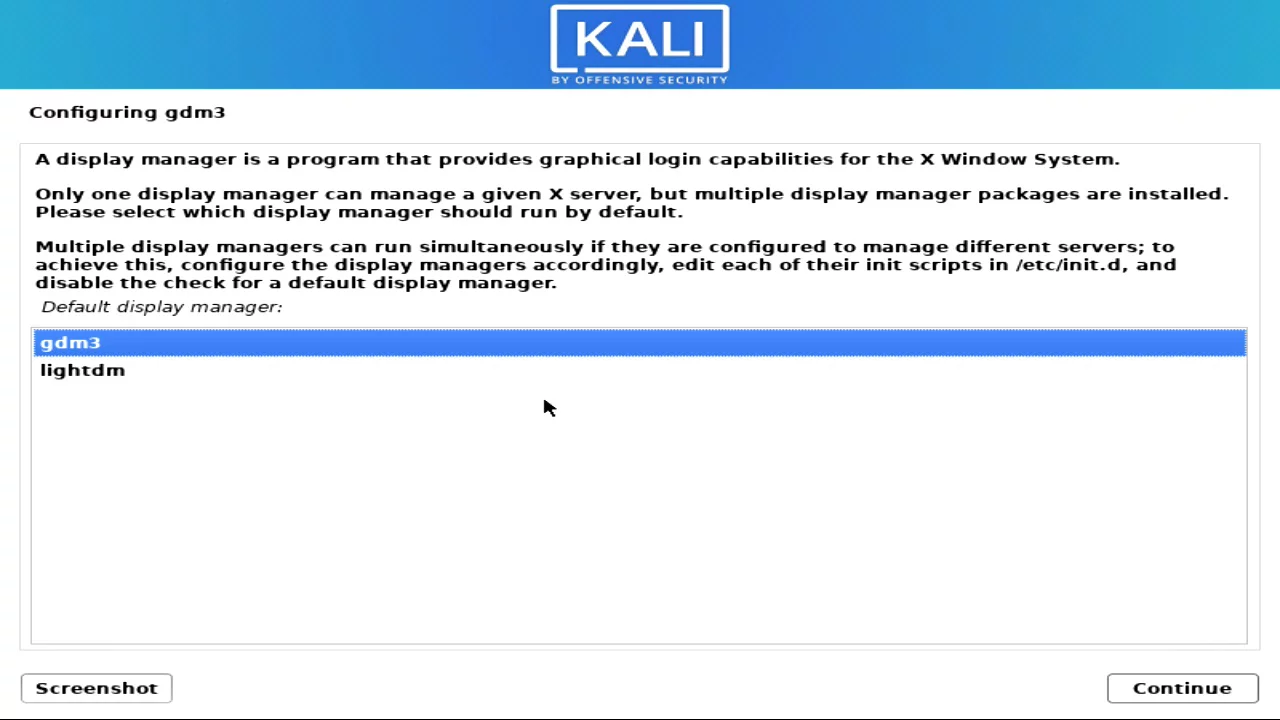
Step 20: In a few seconds it will ask for Configuring gdm3, select gdm3, and hit enter.
Also Read: How to Fix Audio Video Sync in Android?
How to Dual Boot Kali Linux with Windows 10
Installing Kali Linux on a new HDD or SSD concludes the installation process. Return the Windows 10 hard drive to the laptop or desktop. Your machine now has two hard drives with distinct operating systems. If you power on the machine, Windows 10 will load as the default hard drive, and the kali Linux drive will not appear in Windows 10. (Because of different types of partition). This is advantageous since nobody will be aware of or able to interfere with the Kali Linux hard disc.
To gain access to Kali Linux, simply restart your computer and visit the boot menu, where you will find your Kali Linux hard disc. Select it and press enter to launch the Kali Linux operating system. You can therefore surreptitiously utilise the second operating system in this manner, or you can change it from the BIOS; simply make your kali Linux drive the primary boot drive, save your modifications, and exit the BIOS. Now, Kali Linux will load automatically every time.
How to install Kali Linux with Windows 10 (Dual Boot Video)


