You’ve reached the perfect place if you’re looking for the simplest ways to take screenshots on a laptop. This article explains how to take screenshots quickly and efficiently on a laptop. Try the tips listed below.
How to take screenshots on laptop easily?
- Use keyboard shortcuts to screenshot the entire screen and an active window
- Use Snipping Tool to take and edit screenshots
- Use Snagit to take, edit and share screenshots (Recommended)
Tip 1: Use keyboard shortcuts to screenshot the entire screen and an active window
Utilizing Windows keyboard shortcuts is the quickest way to capture screenshots on a laptop and import them into an application.
If you want to take a screenshot of the entire screen, press the Print Screen or PrtSc key.
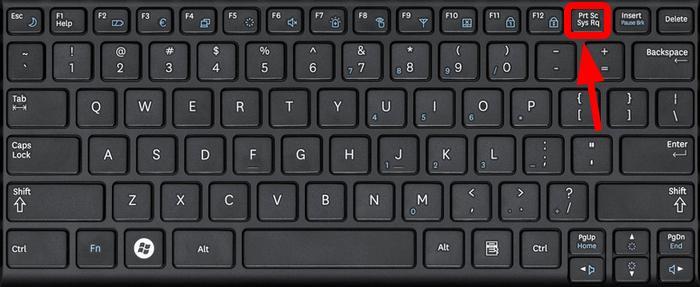
The full screen will be recorded and transferred to the Windows clipboard automatically. The snapshot can then be pasted into Paint, Word, or any other application.
If You Want to Take a Screenshot of An Active Window, Press Alt+PrtScn.
Select the window you wish to capture, then simultaneously press the Alt and PrtScn keys. The image will be captured and copied to the clipboard.
Also Read: The Easy Way to Delete an Instagram Account
Tip 2: Use Snipping Tool to take and edit screenshots
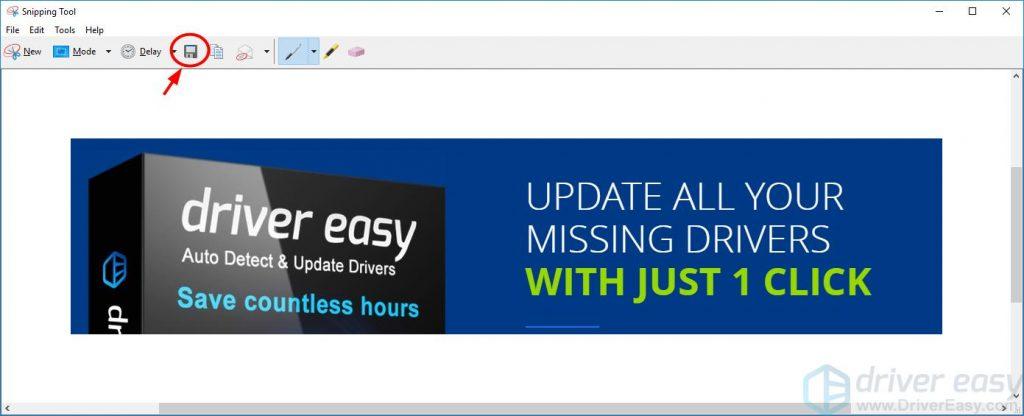
Snipping Tool is a system-installed tool for taking screenshots. It can be used to capture your screen and perform basic editing. Here’s how to use the Snipping Tool on a laptop to capture screenshots:
- Type snip in the Windows search box, and select Snipping Tool from the results.
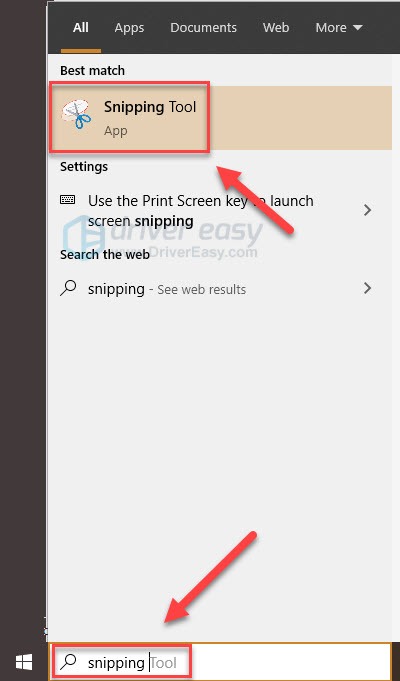
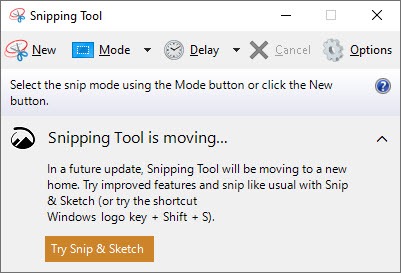
- At Snipping Tool, click New to capture a screenshot.
- Move the crosshair to where you want to start the screenshot, then drag to select an area.
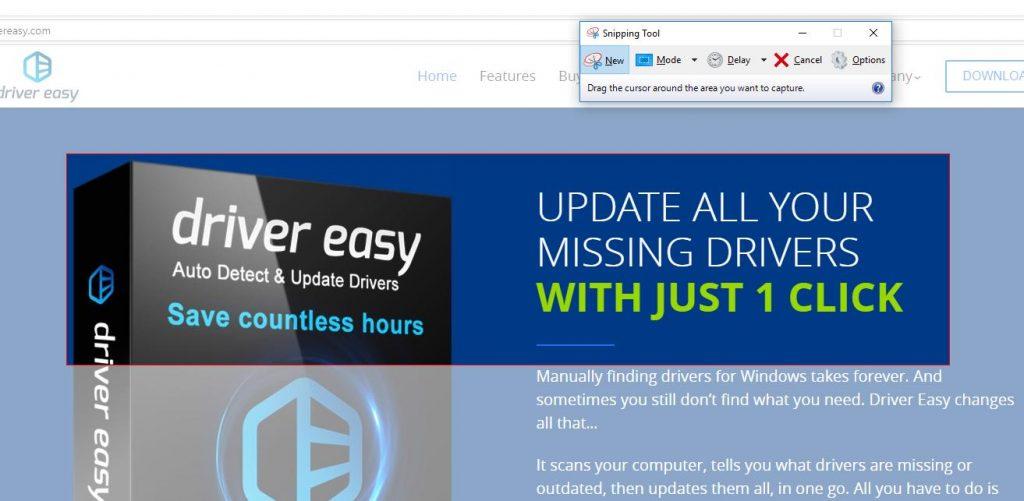
- Click the Save Snip icon to save the screenshot.
Also Read: How To Fix Unable To Join WIFi Network On iPhone! (2023)
Tip 3: Use Snagit to take, edit and share screenshots (Recommended)
There are numerous screenshot applications available online. Snagit is among those we recommend.
Snagit is a screenshot software with tools for image editing and screen capturing. It allows you to swiftly capture screenshots, modify them with its extensive image editing features, and even record videos.
- Download and install Snagit.
- Run and sign in to the program, then click the Capture button.
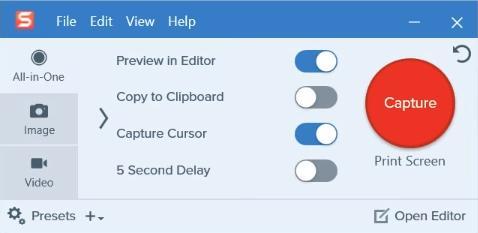
- Move the pointer to where you want to start the screenshot, then drag to select an area. Or hover over a window or area to auto-select it, then left-click your mouse to capture the area.
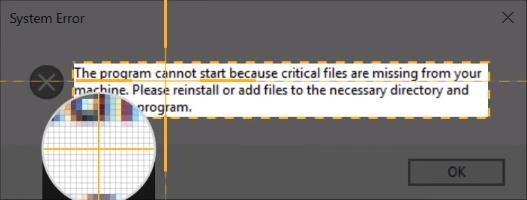
- Click the camera icon on the toolbar to save your screenshot as an image.

- Edit your image in the pop-up Snagit Editor window. You can add shapes, text, effects, or make adjustments to your image.
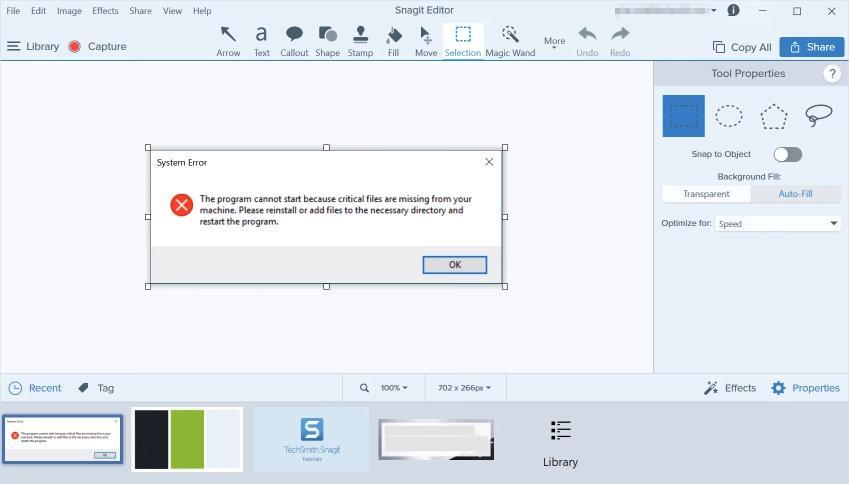
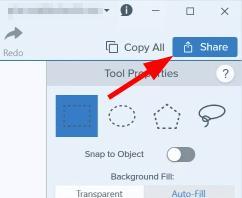
- Save your image or click the Share button in the upper right corner to share the image.
Note: You can only try the full version of Snagit for 15 days. You’ll need to purchase it when the free trial is over.


